
Home | Mailing List | Specifications | Care and Feeding | Modifications | Vendors | Literature
03/20/2009
This document outlines the procedure for installing a 1997-2004(?) Ford F-150 headlight switch with fog lights and AutoLamps into a 1996-99 Ford Taurus. When complete, The switch will active the foglights by pulling the knob out, and will retain full Autolamp functionality. The foglights will be illuminated only with the low beams activated, and will automatically shut off when the high beams are activated. NOTE: there is an optional section at the end of this document that details how to modify the switch faceplate so that foglight operation can be controlled automatically with the AutoLamp system.
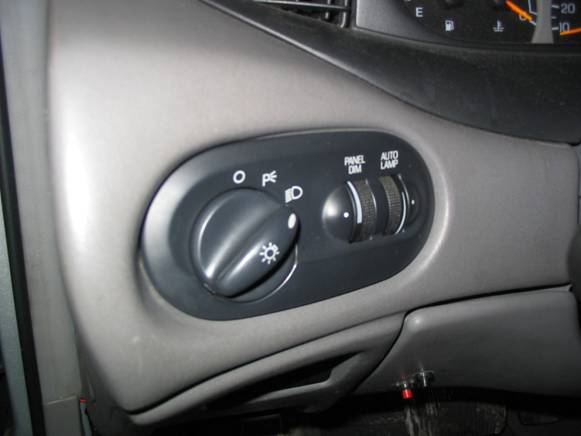
1. Removal of Taurus Headlamp Switch
a. Disconnect battery
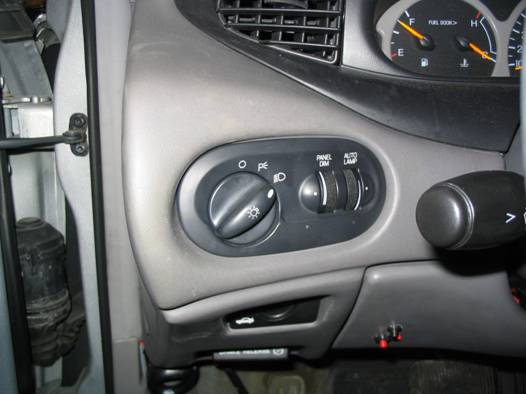
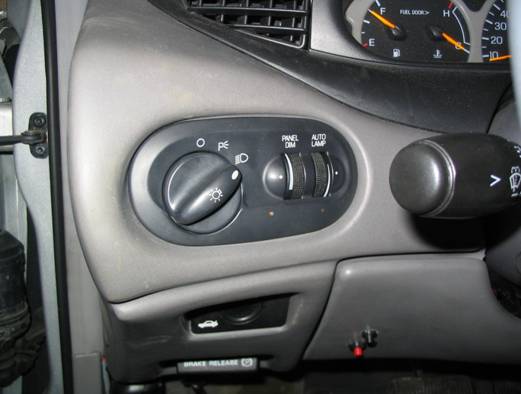
b. Turn headlamp switch to “ON” position and pull out knob as shown:
c.
Insert a straightened paperclip into hole at the base of the knob: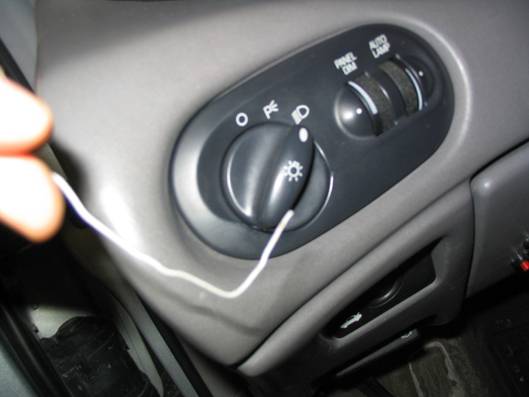
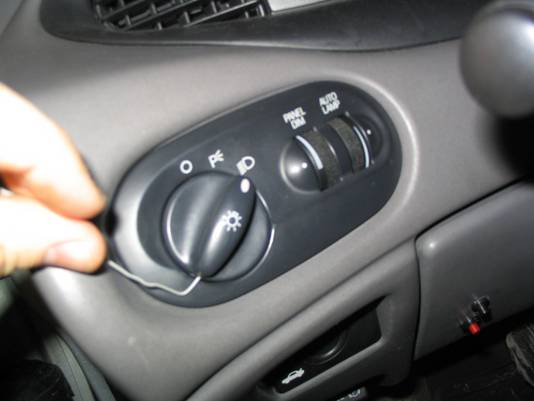
d. Press paperclip into knob while pulling on knob; knob should pop off.
e.
Rotate knob 180° and loosely put back on.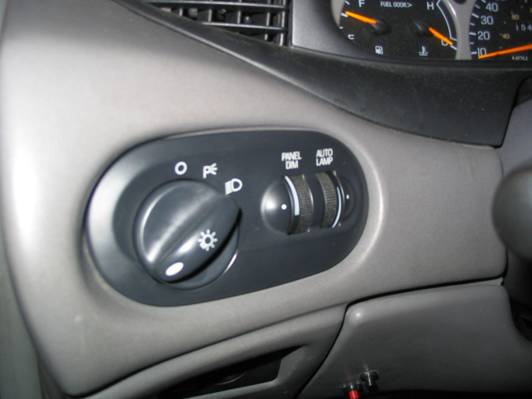
f.
Turn knob counter-clockwise, until knob is vertical again (white
indicator is pointing down):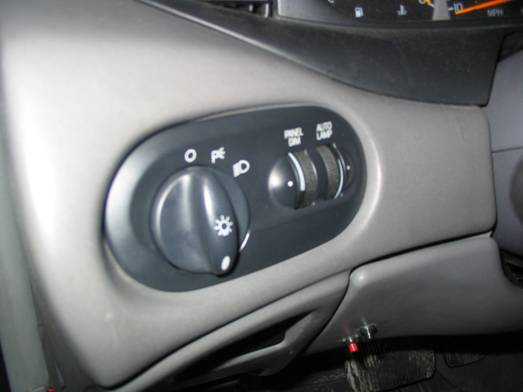
g.
Push knob all the way in.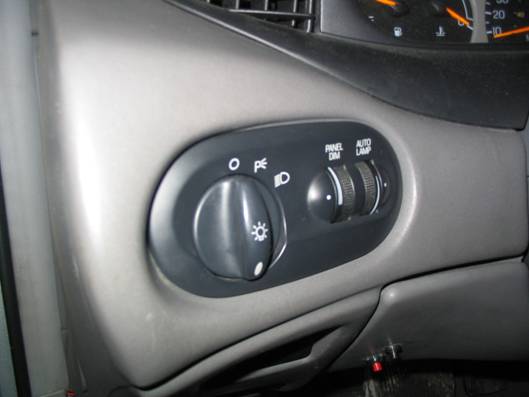
h.
Rotate knob clockwise until entire switch pops out of dash: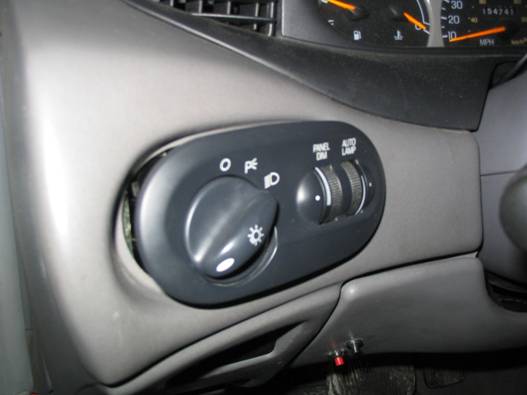
2. Modifying F-150 headlamp switch (NOTE: see optional step 6 below for automatic fog light operation with AutoLamps)
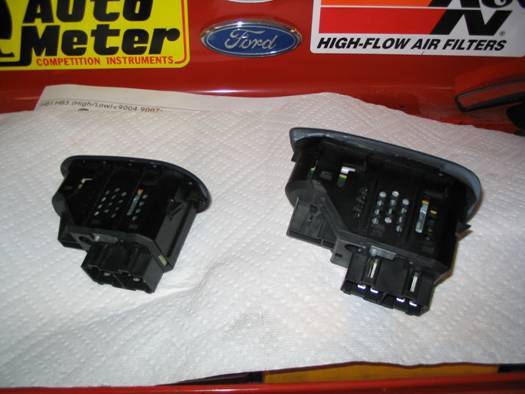
a.
As you can see, aside from the faceplate differences the Taurus (left)
and F-150 (right) have the same switch.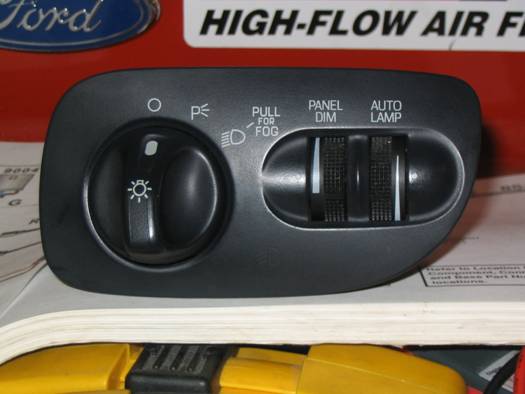
b. Swapping faceplates: Method 1 – cutting/gluing:
i.
Using a boxknife, cut the small plastic rivets that hold the faceplate
onto the shell on both switches: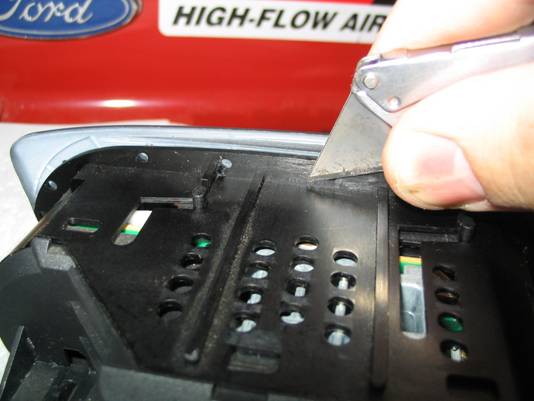
ii.
Using superglue, glue Taurus faceplate onto F-150 switch: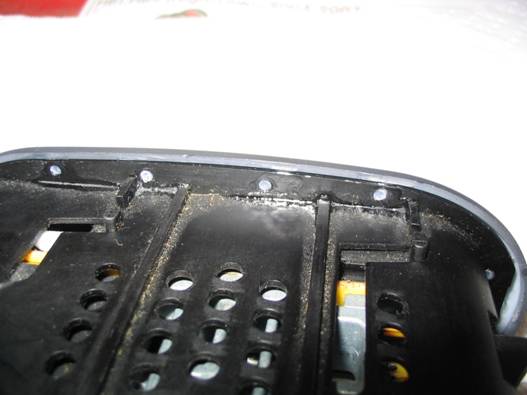
c. Swapping faceplates: Method 2 – swapping housings:
i. For method 2, simply pry around the six clips that hold the entire housing onto the switch, and lift housing and faceplate off as a unit and swap onto new switch.
3. Drill Hole for fog light indicator LED
a. Using lower left corner of the opening for the dimmer dial as a reference, measure the distances to the foglight indicator icon on the F-150 switch.
b. Using these measurements, mark the Taurus faceplace.
c. Using a drill and 3/16” drill bit, very lightly drill the mark on the Taurus faceplate; just enough to remove the black painted coating.
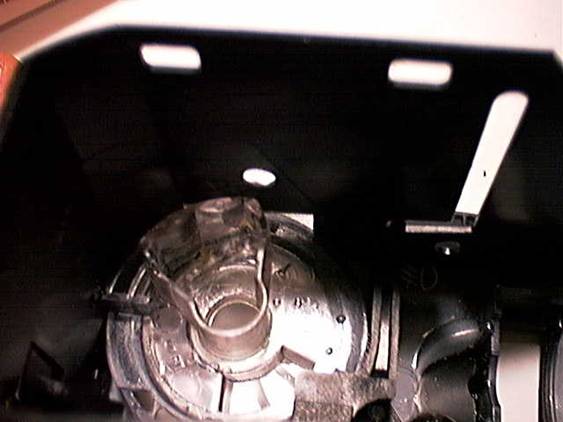
4. Add wires to Taurus Harnesses
a. Remove plugs from F-150 harnesses
i.
For the flat rectangular harness, simply stick a jewelers screwdriver
into harness and push don on retaining clip, then pull plug out: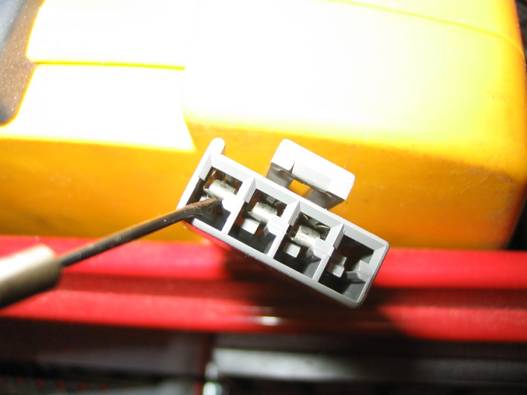
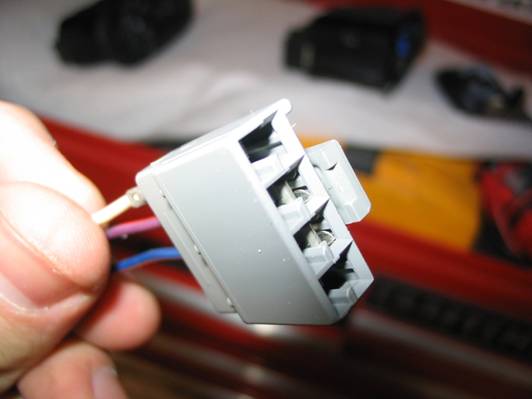
ii. Place plug into open receiver on Taurus harness
iii.
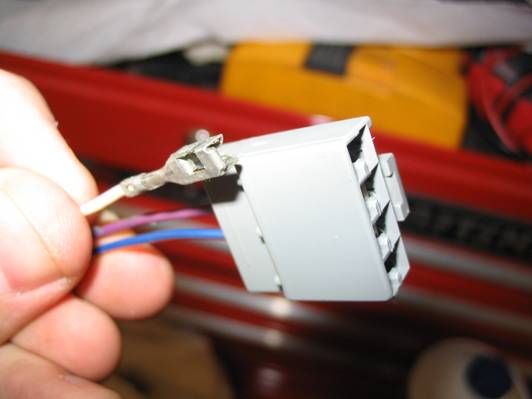
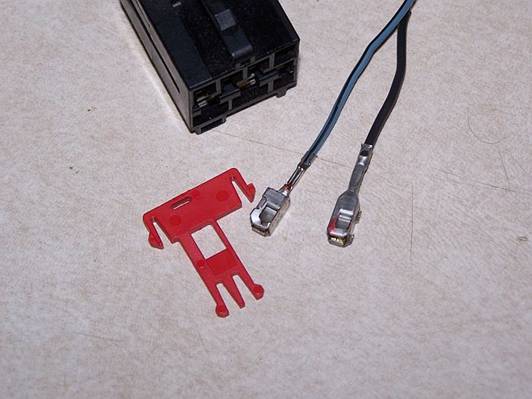
For the other required plug, take one of the smaller plugs out of the
black square harness. The only extra step required is to pull out the red clip
(see picture below) from the harness before pressing on the retaining clip and
popping out the plug. This plug you’ll place in the only open receiver on the
Taurus black square harness (top center).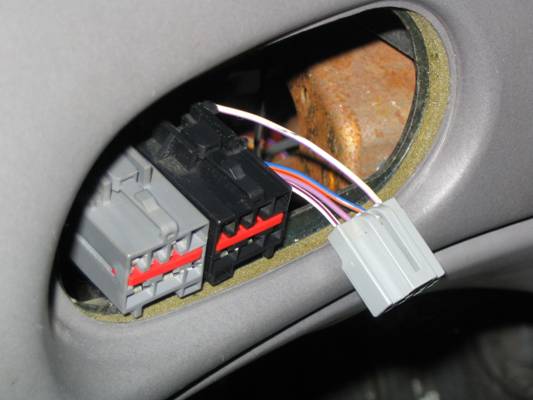
5. Wiring
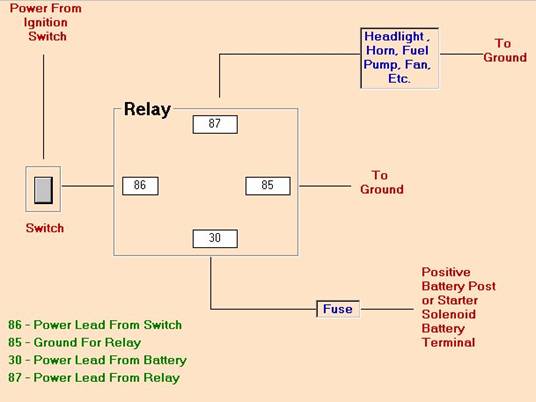
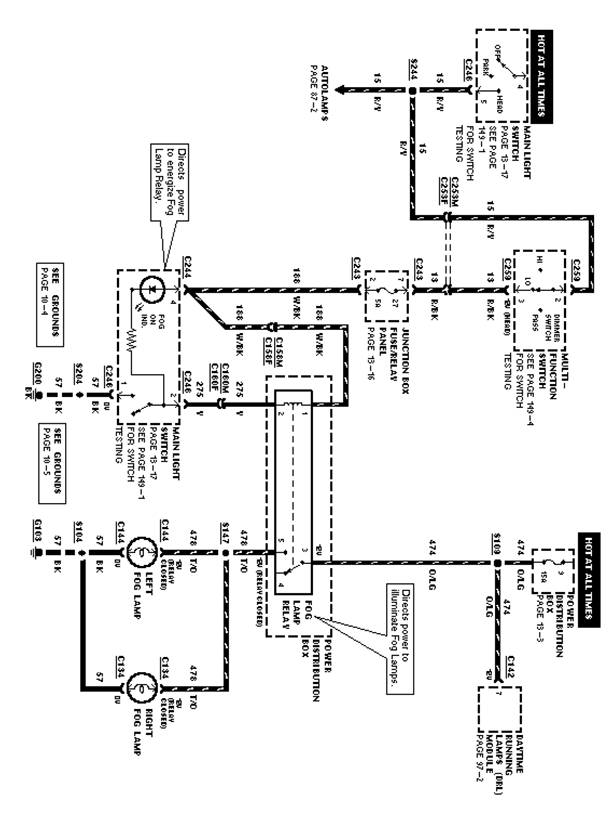
a. See diagrams below for wiring. Power from headlight lowbeams goes to both pin 86 on the relay and to the wire in the flat, rectangular gray harness on the headlight switch. Pin 85 on the relay goes to the wire in the black rectangular harness on the headlight switch. Pin 30 on the relay comes from a fused, always-on power source (I ran directly from the battery), and pin 87 goes to the fog lights.
6. Completed
a. Foglights off:
b. Foglights on:
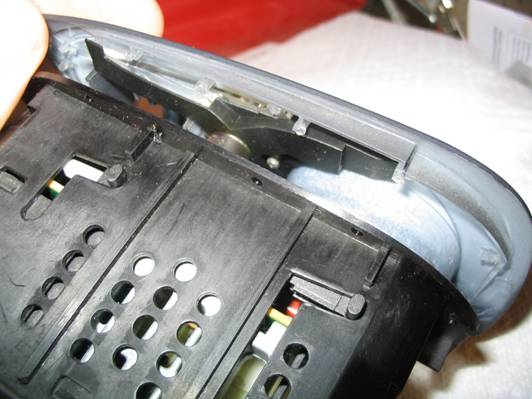
7. OPTIONAL – Modifying Switch to use Fog Lights with AutoLamps (Switch in OFF Position)
a. If you use AutoLamps to turn your headlights on for you and you don’t want to mess with having to turn the switch to ON and pulling out the knob every time you want to use the fog lights, perform this mod.
b.
When the faceplate is off the headlight switch, look on the backside of
the plastic section of the faceplate that is behid the knob, and you’ll see
several detents and a ramp: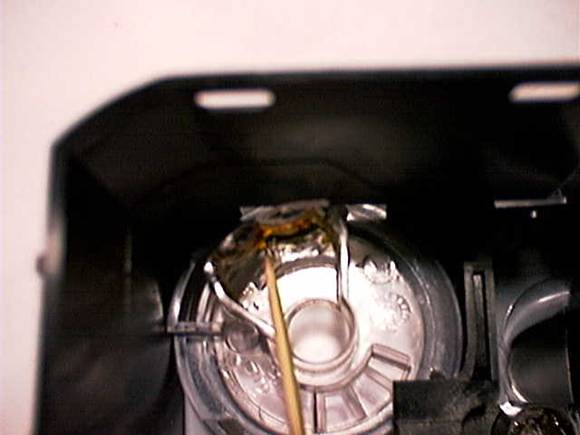
c. Simply use a dremel tool or similar grinder to remove this ramp:
d. Now when you finish the install, simply leave the knob in the OFF position and pull it out. The fog lights will automatically turn on when the low beams turn on, and shut off when the low beams shut off.
©Copyright 2000 - 2009; all rights reserved by V8SHO