
Home | Mailing List | Specifications | Care and Feeding | Modifications | Vendors | Literature
New 11/14/2009
I replaced the long brake lines which run from
front to back on one of my V8 SHO's. One of the lines had rusted through under a
protective plastic elbow up under the driver's door area of
the the car.
This is a very common failure point on these cars as they get up there in age.
There is a plastic
protective coating which covers the brake lines up to this cover, but not past
it and not under it.
Dirt gets up on the elbow, gets and stays wet while packed on top of the
unprotected brake
lines, causing them to rust out under this cover.
Many folks choose to replace just this section of line with short splices. I
chose to replace both
lines, front to back with original Ford parts. I got new lines through
Torrie@fastpartsnetwork.com.
The number I had for the dual brake line assembly with the plastic cover over
the front half of the lines has been superseded by a new # - F8DZ - 2C287 - A.
The new lines don't have the plastic sleeve, but they are painted/coated from
end to end to prevent rust. I think this is a big improvement.
Changing the lines couldn't be much easier. I'd rate it at about 1 1/2 beers.
It's just too easy
to call it even a 2 beer job. The new lines are quite long - shipping was a bit
expensive.

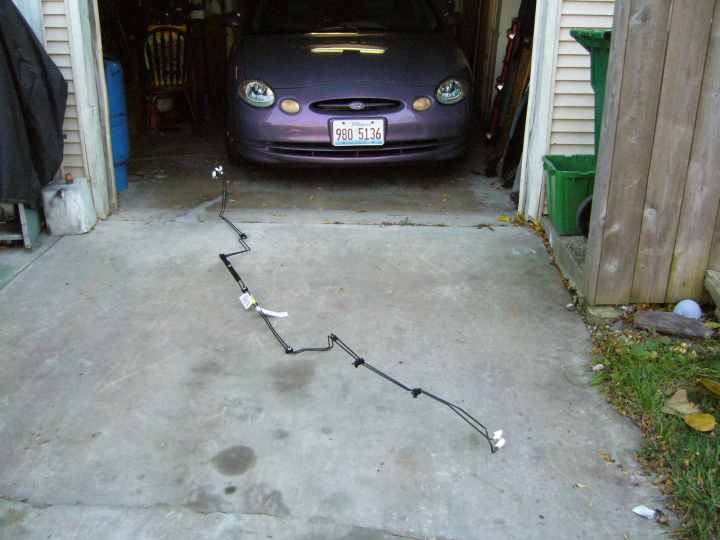
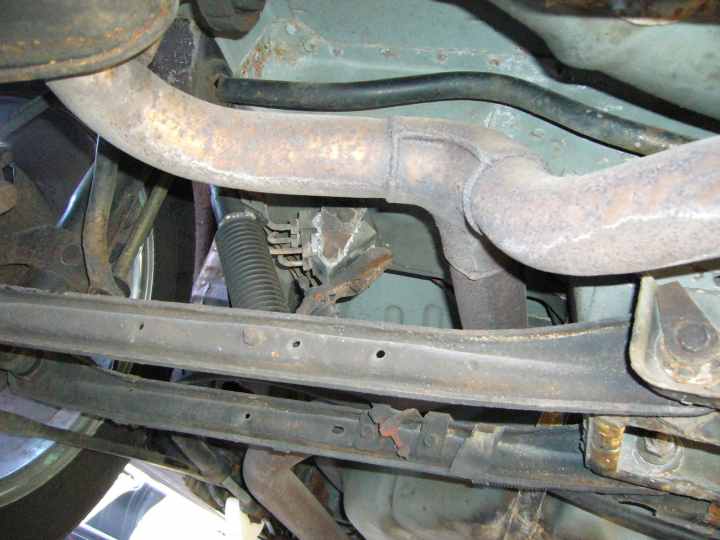
Here is a shot of the new lines in front of the patient
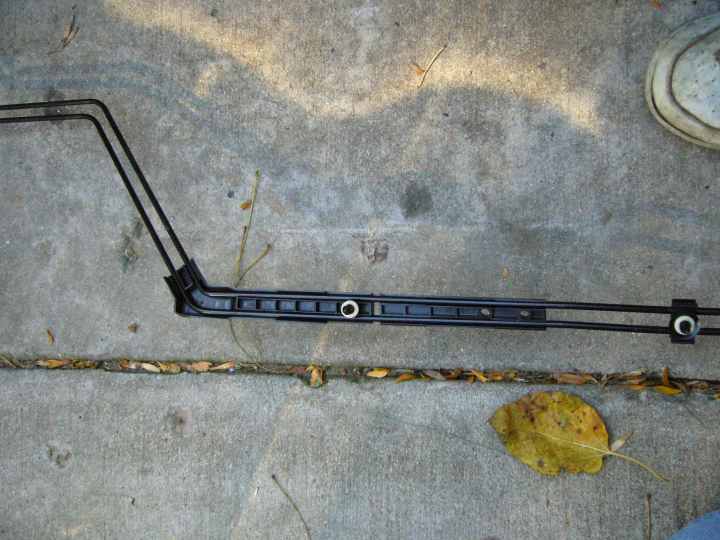
Here's that new lines and the plastic elbow where the old lines always rust out.
The lines are
fully coated now, this shouldn't happen again.
Jack up the car on the driver's side, secure your favorite jack stand, railroad
tie, or cinder block, (that's for Carter) only and take off the front
driver's side wheel.
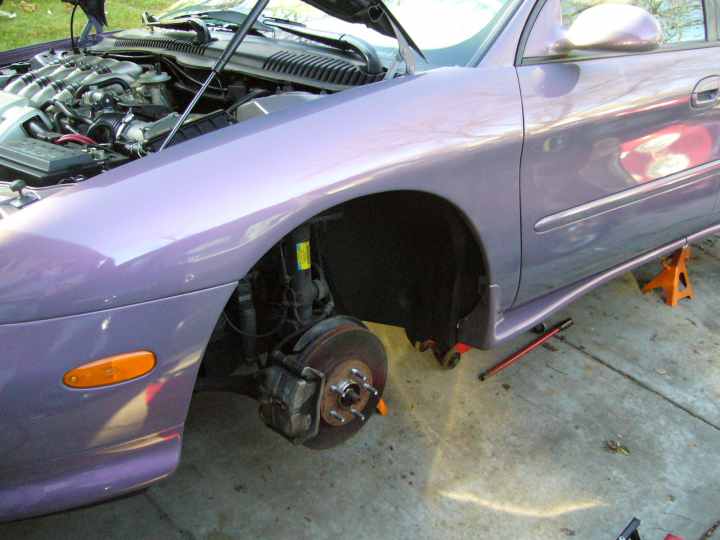
Looking up in the drivers side wheel well, one will see where the brake lines
route just on the
other side of the frame opening.
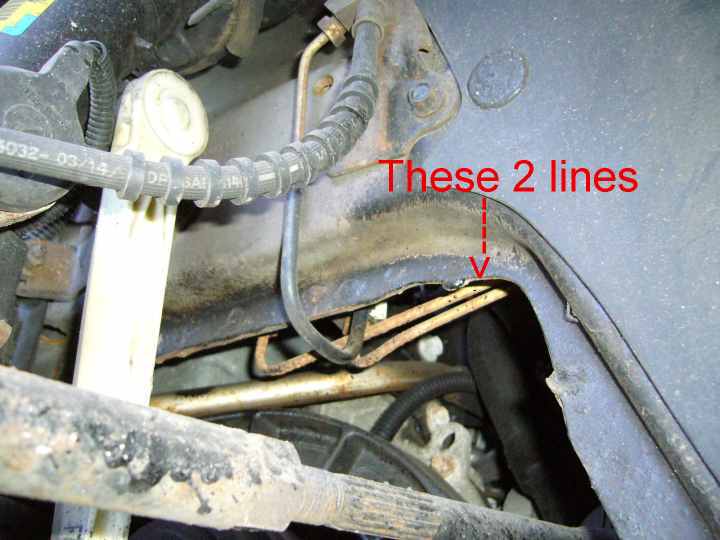
Follow the 2 lines forward and up, you will find a block that the line fittings
are threaded into.
The fittings are 13 mm wrench. Having a short 13mm open end helps here. Unscrew
the 2 line fittings from the block .

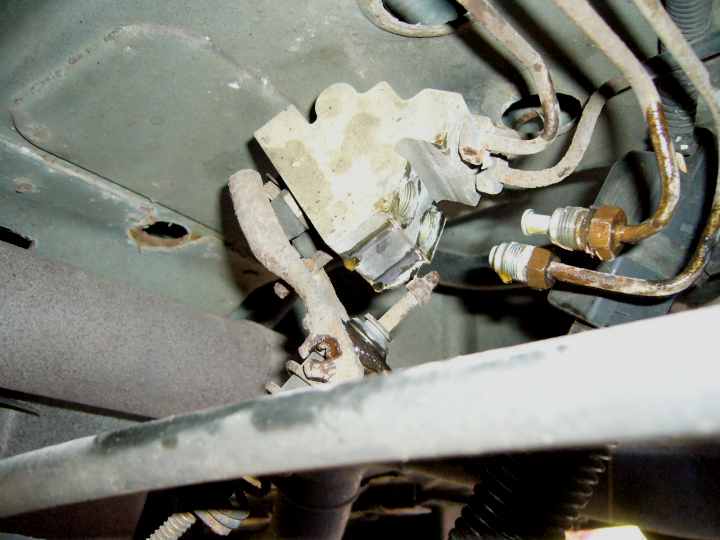
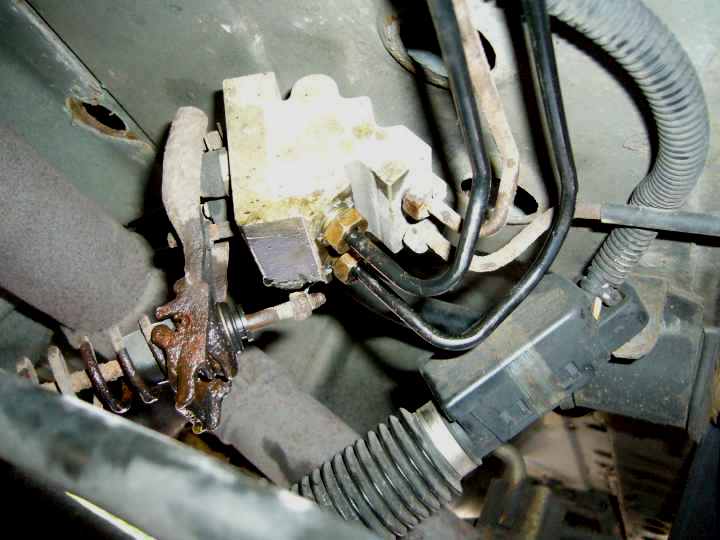
Follow the lines back under the car to the rear wheels on the driver's side. The
lines go up above the axle line to a proportioning valve that is controlled by
the rear control arm position.
The view in the picture is from under the gas tank looking towards the front of the car.
There are 4 lines going into this proportioning block. You only want to remove
the lower 2 lines.
The fittings are also 13 mm.
After unscrewing the rear fittings, I removed the old lines from the bottom of
the car. They were
mainly held in place with plastic snap in supports (Which come new on the new
Ford lines) and two 8 mm screws through plastic supports up by the front of the
car. One goes in the frame rail, one is kind of hidden up behind the frame
opening.
Slide out the old lines and slide in the new ones. Reattach the new lines at the
rear proportioning valve.
I then went up front and positioned the new lines loosely where they were going
to mount and reattached the front connections.
I then went and snapped in all the little plastic line supports into the same
holes the old supports came out of. Then I tightened down the two 8 mm screws to
finish the installation.
I then got a family member to help me bleed all 4 corners of the braking system,
and went for a test ride.
Not kidding - this is a very easy job. I started late in the morning with only
hand tools and was
done way before lunch.
--
Eric Lehmann
97 Ebony 42k Welded - With the Angels Now so that I don't have to be.
Long Live the Garage Queen !
97 Ebony 190k Resurrected, Welded
97 Toreador Red 74k Resurrected, Welded, Now with JBL sound inside!
96 Medium Willow Green Metallic 125k Resurrected, Welded, Eaton M90 inside
96 Rosemist 74k 2006 Best Of SHO, Popular Vote, 2007 Best Gen 3, Welded
96 Charcoal Grey 142k - Resurrected, Welded
©Copyright 2000 - 2009; all rights reserved by V8SHO