
new 5/13/03
You will need:
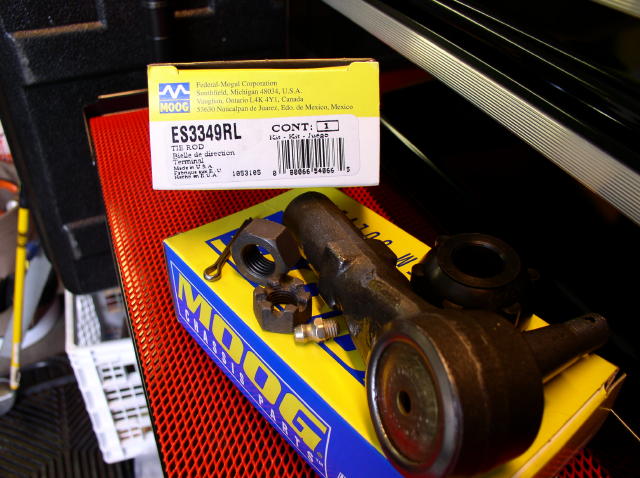
Tie Rod Ends – Moog part # ES3349RL
18mm deep well socket – To remove castellated nut from tie rod
2- 10” Crescent wrenches or 21mm combination wrench
Curved jaw Vise- Grip pliers either 7” or 10”
Torque Wrench
Hammer or hard rubber mallet
Grease Gun
Liquid Wrench or PB Blaster
Ford Silicon Dielectric grease or equivalent Lubricant
Propane Torch (optional)
Tie Rod End/ Pittman Arm Puller (optional)
1. Jack up car and remove front wheels. It is easiest to jack the car up from the center of the sub frame support and use jack stands on either side. To remove the wheels use a 19mm deep well socket and a breaker bar, it is much easier than rummaging through your trunk for the lug wrench.
2. Make sure you wheels are pointing straight ahead and the steering wheel is centered. This will help to preserve your toe settings. Soak the tie rod locking nut with some PB Blaster. With the Vise Grips hold the inner tie rod at the point where there are ridges. Now using the Crescent wrench or 21mm combo wrench loosen the lock nut. If you live in the rust belt you can heat the joint with your torch.
3. Once the lock nut is loose remove the cotter pin from the castellated nut. Now using your 18mm socket remove the nut. If you have a tie rod tool you can use this to remove the tie rod from the knuckle, if not just give the bottom of the bolt a couple of raps and it should pop out. Unthread the end and lock nut from the inner tie rod. Pay careful attention as to how many turns it took to remove it. When installing the new end you will want to preserve the length to keep your toe spec close to what it was before.
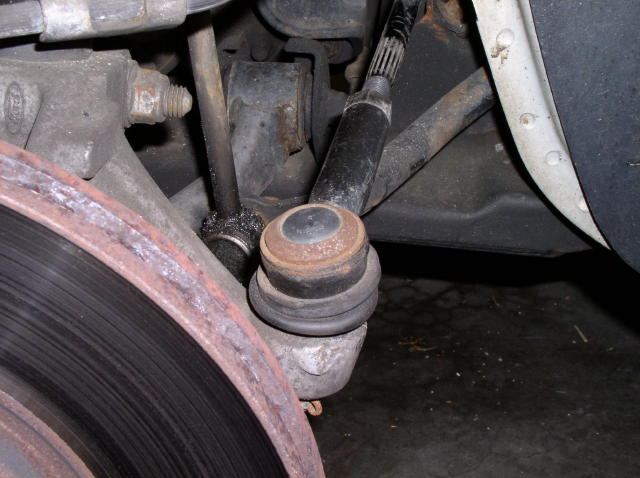
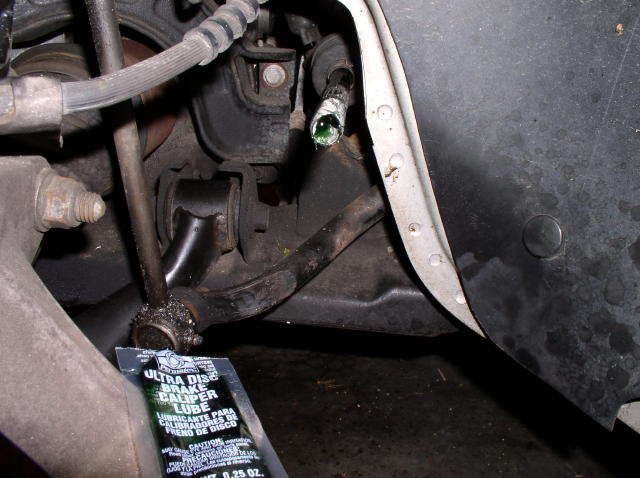
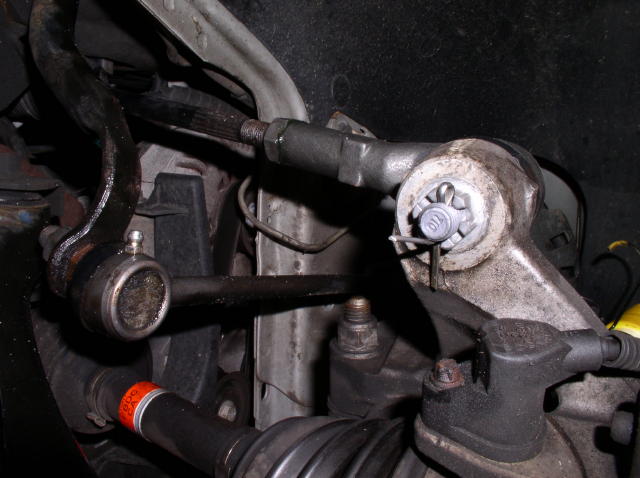
4. Now that you have the tie rod end removed check the inner tie rod to make sure it does not have excessive play. Also take the time to clean and lubricate the threads so that they will not seize making an alignment almost impossible. I used Permatex brake caliper lube, but the Ford dielectric grease is better (also you should use this on your brake caliper slider pins.) Note how the inner tie rod is supporting itself.
5. Prepare your new tie rod ends. The Moog units come with a self tapping grease fitting and a new boot and hardware. Note the Ford unit and the Moog Unit, the Moog is greaseable and also has a nice flat so you can hold it with a wrench.
 |
 |
6. Install lock nut on inner tie rod. Thread new tie rod end on the inner tie rod; remember to thread it on the same amount of turns as the old one came off. Now put tie rod into knuckle making sure the spindle is straight. Thread on the castellated nut and torque to 35-45 lb-ft. If the hole on the bolt and the notches in the nut do not line up tighten the nut so that one does. DO NOT LOOSEN TO MAKE THE HOLES LINE UP. Install cotter pin and bend so that it does not fall out. If you are not setting the toe yourself tighten the lock nut and torque to 35-46 lb-ft.
7. You are finished. Make sure that you greased the tie rod adequately. You will probably need an alignment after doing this. If your camber and caster were set to spec you will just need to reset the toe. If you plan on getting a 4 wheel alignment take the time to drill out the spot welds on the strut towers, this will assure a full range of adjustment.
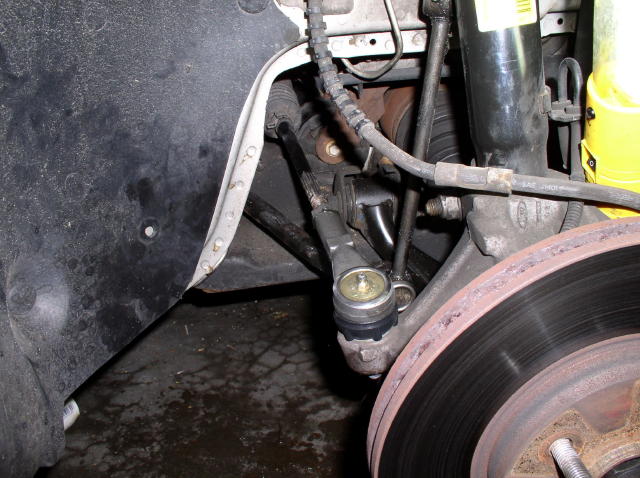
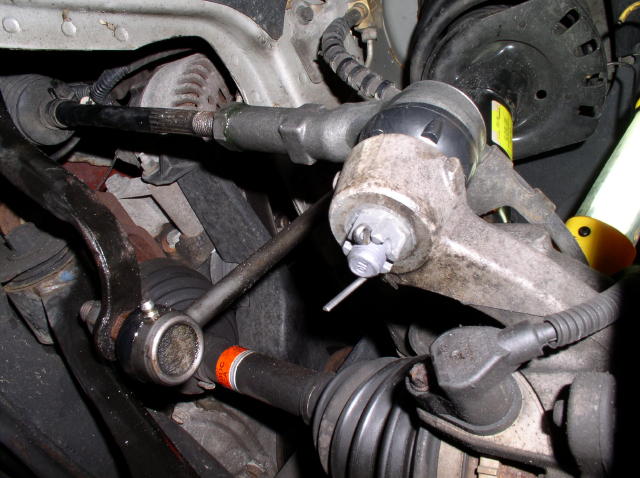
NOTE: In this picture you can also see the Moog steel sway bar end links. These units are again an upgrade over the plastic OE Ford units. The part # for these are K 8735 and K8734.
8. ENJOY!
Cost was about $22 each, trade price. List is about twice that.